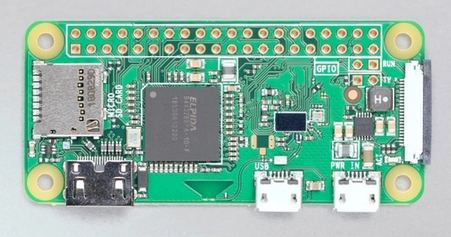
The Raspberry Pi Zero W (W standing for integrated wireless LAN and Bluetooth) features two micro USB ports. One is dedicated to power the Raspi, the other one is to attach USB devices (using an adapter). To attach a display, a mini HDMI port is available.
But what if you don't have the necessary adapters (USB to micro-USB and HDMI to mini-HDMI?). Is the Pi Zero doomed? No! Although a "normal" Raspberry Pi setup involves attaching devices (keyboard, mouse and screen), it is also possible to do this "deviceless" – by preparing the Raspberry Pi's microSD card.
Note: This tutorial also applies to the Raspberry Pi Zero WH.
Preparing the Operating System using Image Writer
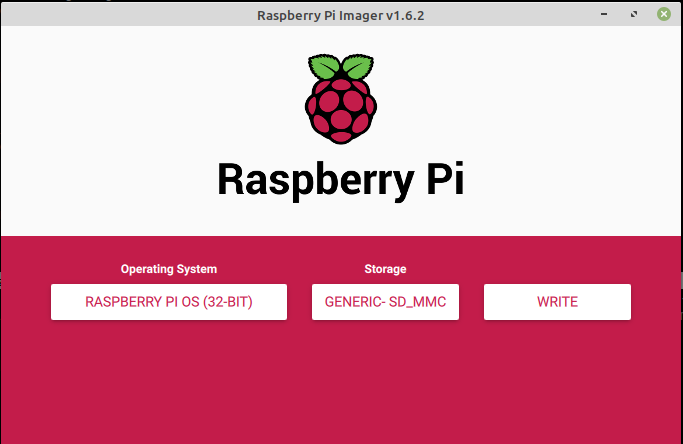
To prepare the Operating System for the Raspberry Pi Zero, the most common way is to use the Raspberry Pi Imager application. It downloads the Operating System and writes it to the microSD card.
Once the microSD card is ready, there are two partitions:
Partition 1 is the boot partition; it holds the Kernel, drivers and other information needed to boot the system. Partition 2 contains all other data, including the Operating System and user data (/home/pi).
The boot partition however can also contain "boot instructions" for the Raspberry Pi.
Automatic connect to WLAN
To let the Pi Zero automatically connect to a Wireless LAN right after booting, create a file wpa_supplicant.conf in the boot partition. Add the following contents into the file:
ctrl_interface=DIR=/var/run/wpa_supplicant GROUP=netdev
update_config=1
country=US
network={
    ssid="Rodeo Wifi"
    psk="passphrase"
}
Where country is your own country, defined as two letter code (ISO 3166-1). Set your own WLAN name (here "Rodeo Wifi") in ssid. And of course enter your Wifi's passowrd in psk.
Automatic start of SSH
To tell the Pi Zero to automatically start SSH, simply create a file ssh in the boot partition. No content is required – just having an empty file "ssh" in the boot partition will automatically start the openssh-server after boot.
Overview
So now your microSD's "boot" partition (partition 1, formatted in FAT32) should now contain these two additional files wpa_supplicant.conf and ssh.
Booting Raspberry Pi Zero
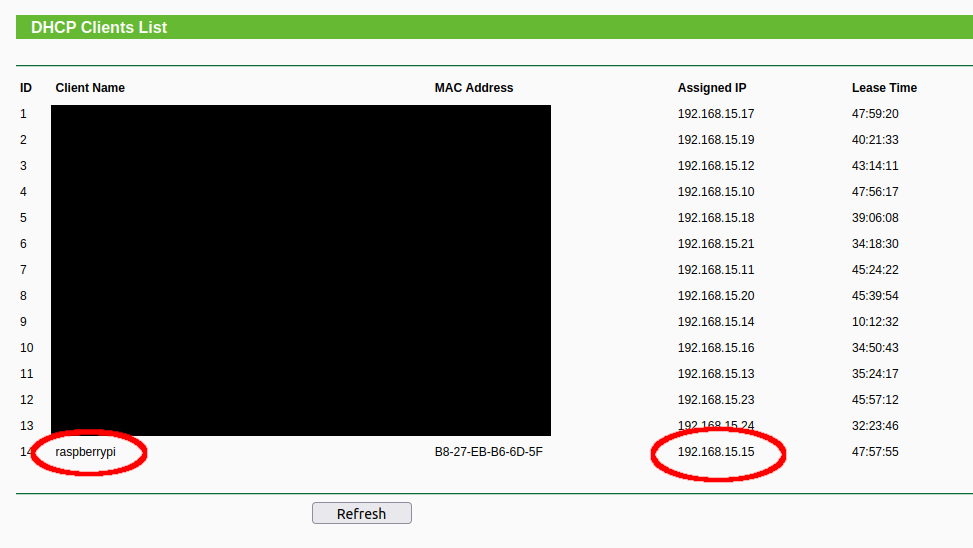
Now that the preparations of the microSD card are finished, unmount/eject the card from your computer and insert into the Pi Zero's microSD slot. Power up the Pi Zero and then check your DHCP server (in most networks this is mostly the router). The Raspberry Pi should appear in the list of DHCP clients:
Using SSH to connect to the Raspberry Pi Zero
Now that we know the Raspberry Pi Zero is reachable at 192.168.15.15, we can launch ssh to connect to it. On a new Raspberry Pi setup, the default user is "pi" and the default password is "raspberry". This applies to any Raspberry Pi model, not just the Zero.
ck@mintp ~ $ ssh pi@192.168.15.15
The authenticity of host '192.168.15.15 (192.168.15.15)' can't be established.
ECDSA key fingerprint is SHA256:Wg1IpcF3NZyWOgVMP40QSGox8DxTHTGZI5IYit/z4Lg.
Are you sure you want to continue connecting (yes/no/[fingerprint])? yes
Warning: Permanently added '192.168.15.15' (ECDSA) to the list of known hosts.
pi@192.168.15.15's password:
Linux raspberrypi 5.10.17+ #1414 Fri Apr 30 13:16:27 BST 2021 armv6l

The programs included with the Debian GNU/Linux system are free software;
the exact distribution terms for each program are described in the
individual files in /usr/share/doc/*/copyright.

Debian GNU/Linux comes with ABSOLUTELY NO WARRANTY, to the extent
permitted by applicable law.
Last login: Fri May  7 16:17:53 2021

SSH is enabled and the default password for the 'pi' user has not been changed.
This is a security risk - please login as the 'pi' user and type 'passwd' to set a new password.

pi@raspberrypi:~ $
Great! We're connected to the Raspberry Pi, without even having to attach any devices. From here on we can now set up the Pi Zero and install additional software.

