Linux Mint has been my personal choice of Linux Desktop since 2016 and I haven't been disappointed – so far.
The newest release, Linux Mint 21.0 (Codename Vanessa), is available since earlier this year (released on July 31st 2022). It is based on the current Ubuntu 22.04 (Jammy) Linux distribution and will be supported until 2027. See our updated list of Linux distributions with LTS support for more information.
Enough introduction, time to upgrade my Linux Mint, which currently runs 20.3 (Una) to 21.0!
ck@WM2856L:~$ lsb_release -a
No LSB modules are available.
Distributor ID:	Linuxmint
Description:	Linux Mint 20.3
Release:	20.3
Codename:	una
Upgrading from older versions
The "official" way to upgrade Linux Mint is to use the mintupgrade command. This is only supported from one major release to the next. You cannot "skip" a version in between. For example upgrading from 19.3 to 21.0 would not work (although purely technically speaking it could work). First upgrade your older Linux Mint to 20.3, then you can use this guide to upgrade to 21.0.
Preparations
As with every Operating System upgrade, whether this is Linux, mac OS or Windows, there should be some preparations made:
- First update the current Linux Mint. Use either the graphical "Update Manager" or the command line using apt-get update and apt-get dist-upgrade.
- Make a list of your applications you installed and use regularly. There might be some software which was installed in a "different way" than using the official repositories. Slack, Skype on Linux or other third party software is often installed from direct downloads or manually added package repositories. Software which is not recognized as "coming from the official repositories" might be removed by the upgrade process and you need to install them later again.
- Make a backup! This could be an external disk where you copy your disk content (using dd or rsync). The Linux Mint upgrade will also take a snapshot of the current system so you can revert to it. But if the system does not boot at all, you can't (easily) revert to that snapshot.
Install and launch mintupgrade
If you already upgraded this Linux Mint machine from a previous version, you most likely already have the mintupgrade package installed. If not, install it:
ck@WM2856L:~$ sudo apt-get install mintupgradeOnce installed, launch mintupgrade with sudo (requires root privileges):
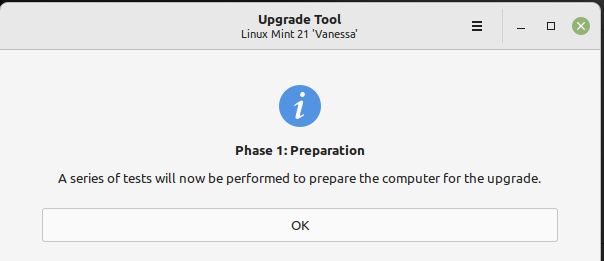
ck@WM2856L:~$ sudo mintupgradeThis opens up the Linux Mint "Upgrade Tool" in a separate window. The whole upgrade process is done using this graphical tool.
Phase 1: Some checks and taking a snapshot
In the first phase of the upgrade, the Upgrade Tool does some preparations and sanity checks. It will also ask you to create a snapshot of the current system, which is a wise idea.
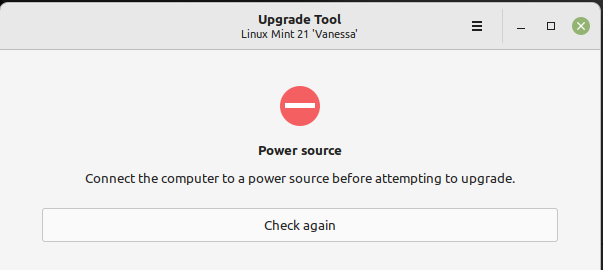
In case this machine is a notebook, the Upgrade Tool will check that a power source is plugged in. There is nothing worse than upgrading your operating system and then you run out of battery in the middle of the progress.
The Upgrade Tool then checks for existing system snapshots. If there are none, you are asked to create one. A click on the "Fix" button opens up Timeshift where you can create a new system snapshot (with a click on the Create/Diskette icon).
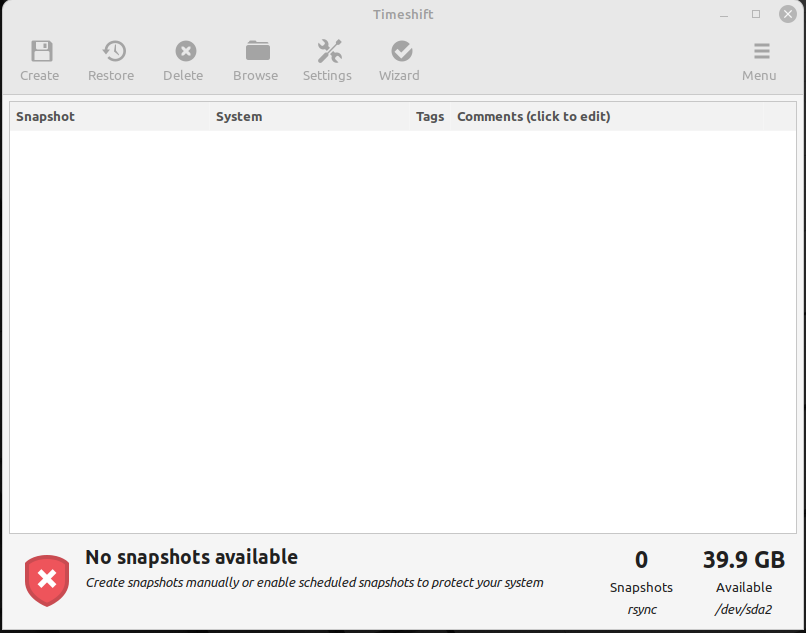
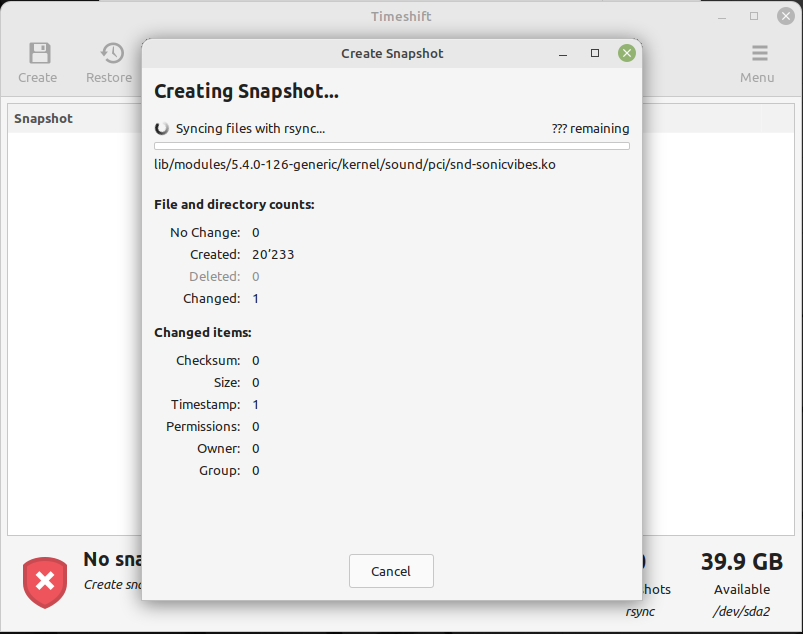

By closing the Timeshift application (launched on top), you return to the Upgrade Tool.
Next up the Upgrade Tool checks for repositories and other sources of packages as well as packages themselves which might be or are incompatible with the next version of Linux Mint. Write these repositories and packages down as they might be removed during the upgrade and if you need them, you have to install them manually again after the upgrade is completed.
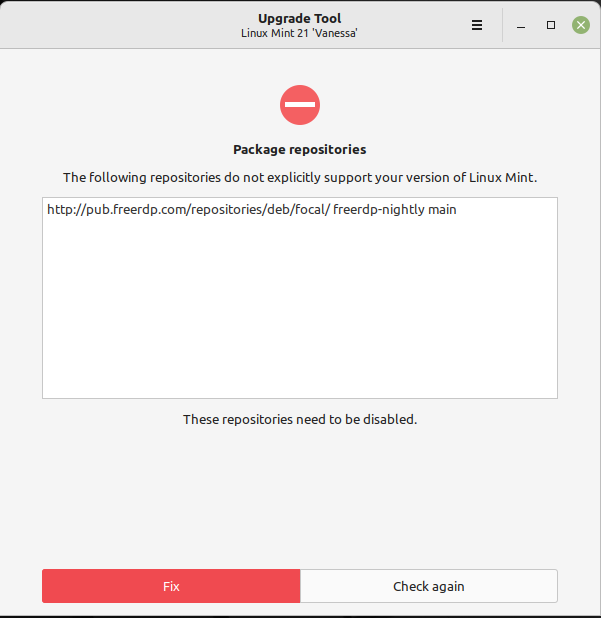
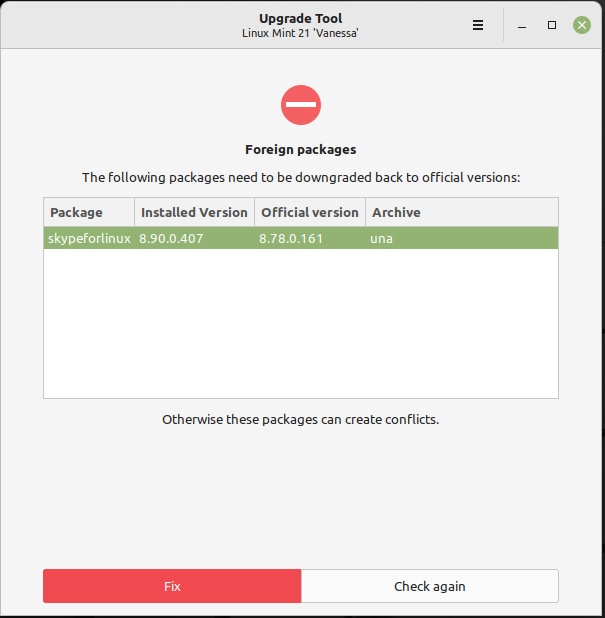
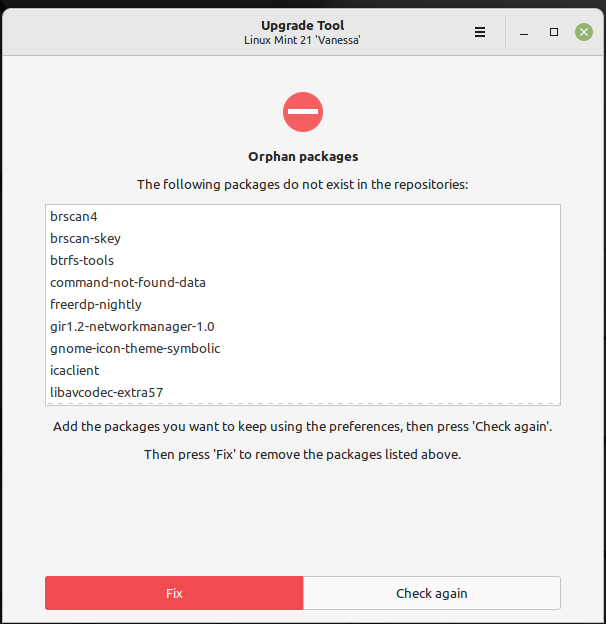
With a click on the red "Fix" button, you proceed.
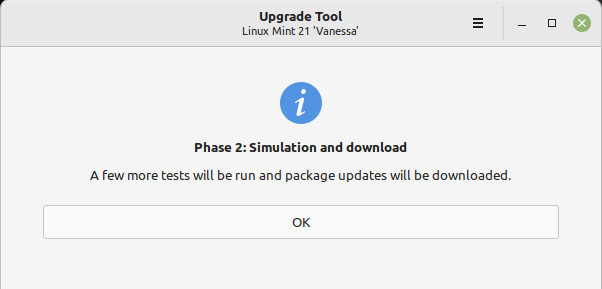
Phase 2: Simulation and download
Time to start phase 2, which will do another sets of compatibility tests in the background and download packages.
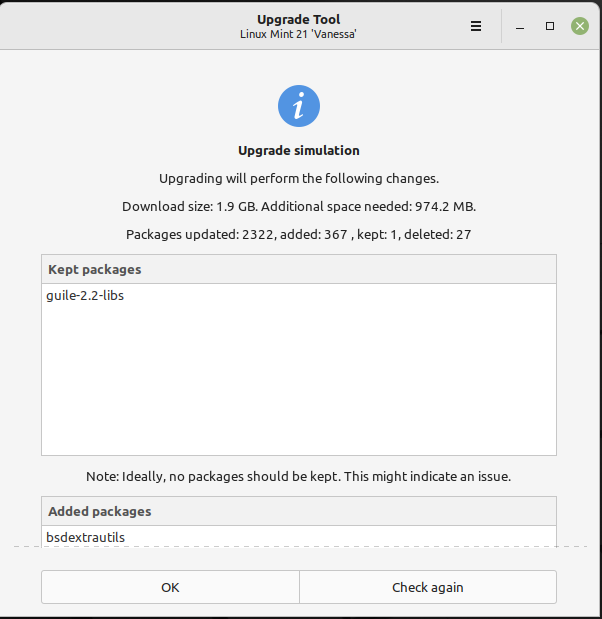
The simulation already shows statistics how much needs to be downloaded and how many packages will be upgraded.
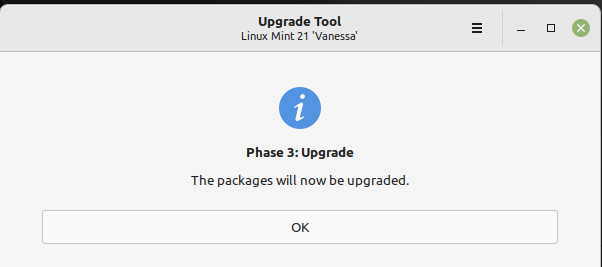
Phase 3: Upgrade
Finally, we've made it to the final phase: Phase 3 will upgrade the local packages.
The "Upgrade phase" window will remain for quite a long time as the upgrade will take a while.
During this phase, you can open a terminal window to see what's going on. With htop you will notice that it's mainly dpkg working on upgrading the local packages.
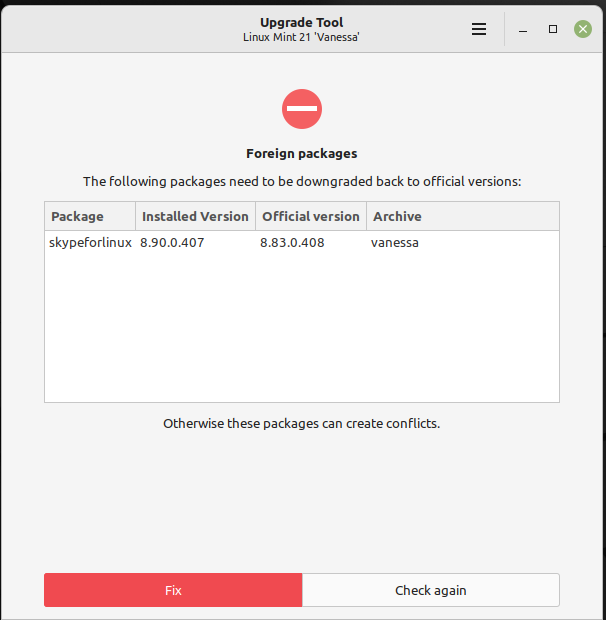
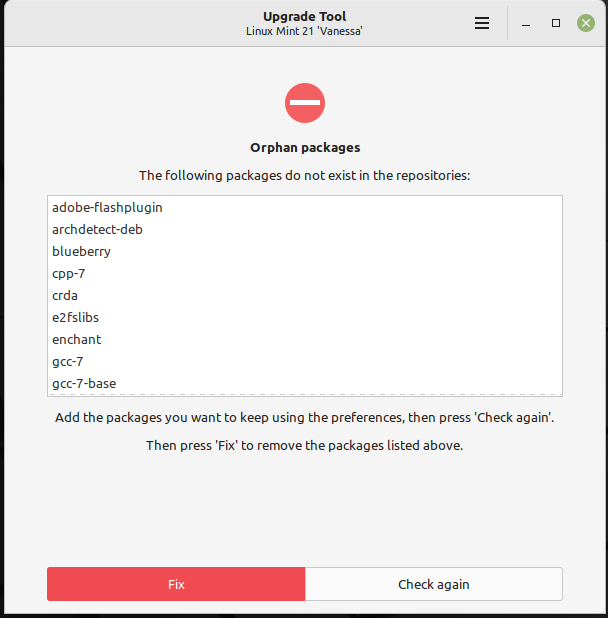
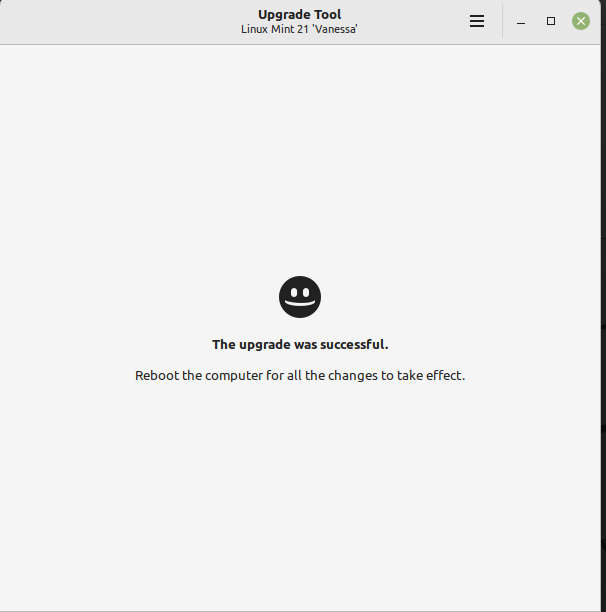
After a while, the Upgrade Tool might report on the foreign and orphan packages (as seen in Phase 1). A click on the "Fix" button will now downgrade or remove the mentioned packages, depending on how the Upgrade Tool suggests to fix the incompatibility. When this is done, you are greeted with a smiley, asking you to reboot the system as the upgrade is completed.
Welcome on Linux Mint 21.0!
After the system has booted, you should now be running Linux Mint 21.0 (Vanessa). You can run the lsb_release command again to verify:
ck@WM2856L:~$ lsb_release -a
No LSB modules are available.
Distributor ID:	Linuxmint
Description:	Linux Mint 21
Release:	21
Codename:	vanessa
The whole user interface still looks similar to the older version 20.3, however there are a few little differences you'll notice over time. For example the Terminal application has slightly different (darker) default colours and the Screenshot app looks a bit different when taking a screenshot.

